Topic 1.3: Braille equipment
This topic introduces to you various Braille equipment. Braille equipment can be categorized as writing tools, reading resources and braille technological devices as further explained in this topic.

1.3.1 Categories of Braille equipment
There are different categories of Braille equipment: writing tools, mathematical tools, reading tools as explained below:
1.3.1.1 Writing tools
Braille writing tools are the tools that are used for writing Braille. The following are examples of Braille writing tools:
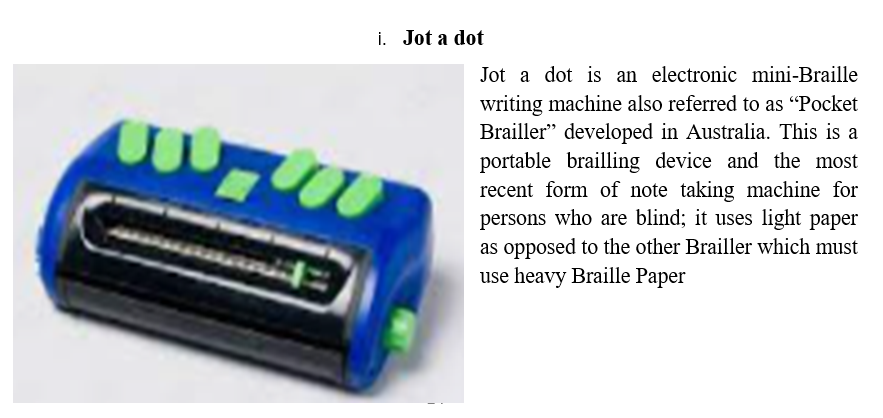
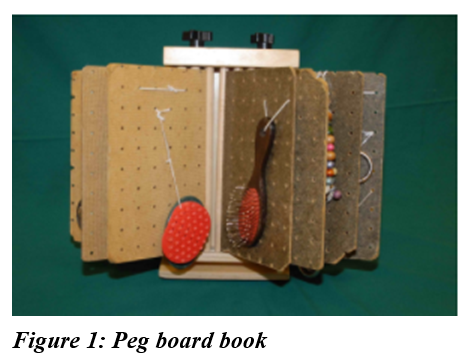
i. Peg board books
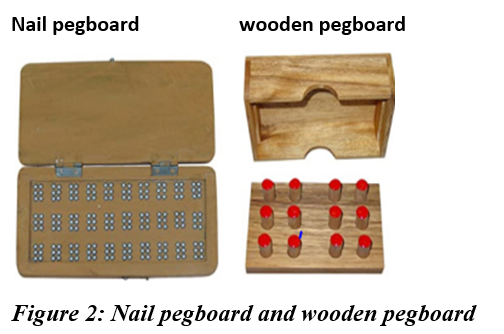
Pegboard books provide a way for young children who are blind or visually impaired, including those with multiple disabilities, to begin to explore books. This format uses real objects attached to pieces of pegboard. The common household materials that are selected have varied and interesting tactile properties, which encourage exploration. In most Rwandan schools for the blind use wooden pegboards.These objects become the first "symbols" for the child and are an important step in developing language and literacy skills. When the child can relate an object with a specific activity or experience the object becomes a representation for the entire memory. Object symbols become more and more abstract as the learner develops and can be paired with even more abstract representations like braille or print.
ii. Slate and stylus
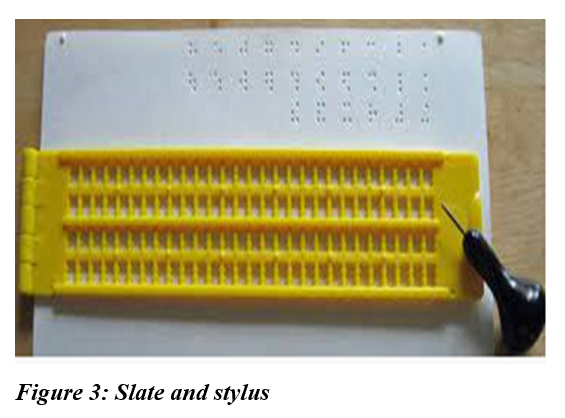
The slate is a rectangular frame that has impressions of Braille cells on it. It has a frame that is hinged on it as shown in the figure below. Braille paper is inserted and held tightly by the frame.
The stylus is used to prick dots on a special paper known as Braille paper. Writing using a stylus is done from right to left. However, reading is done after turning over the Braille paper and then we read from left to right.
To write Braille using the slate and Stylus, you need a lot of practice as letters must be written one way and read the other way.
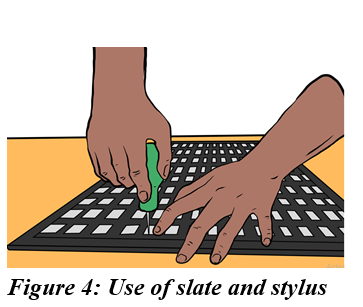
How to write braille using a braille slate
Steps:
You should place the Braille slate on a stable horizontal surface such as a table or desk. Now press the end of the stylus into the braille cells across the page, from the right to the left, ensuring that the stylus depresses into the six positions of each cell onto the paper beneath the perforated plate. During the writing process, all the three middle fingers rest around the stylus stem and press it down such that dots are made through the slate cells. You should note the rule that you write the dots on the right side while advancing to the left side. When the braille slate is in use, it produces the sound of ‘tiny pops’
When the writing is done and you want to read the braille cells, you should turn over the slate towards the left. The left forefinger should be placed on the sheet at the grip notch, and the groove plate should be removed with the right hand. In this position, you can read braille from left to right as is normal with ordinary reading.
Close back the Braille slate, making sure you do not move the paper out of its position. Continue writing onto the Braille slate as before, making sure you press into the six positions in each cell.
iii. Perkins Brailler
Brailler is one of Braille writing tools (Friedman, 1963). It is the most commonly used Braille writing machine in schools in Rwanda. It is very reliable and simple to operate. The embossing head produces firm dots that are easy to read. The Braille paper is held tightly and kept in position throughout.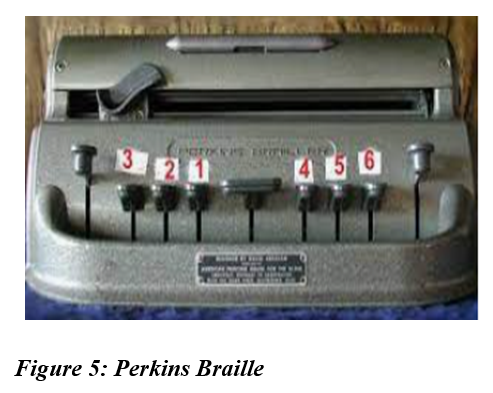
How to write braille using a Perkins Brailler
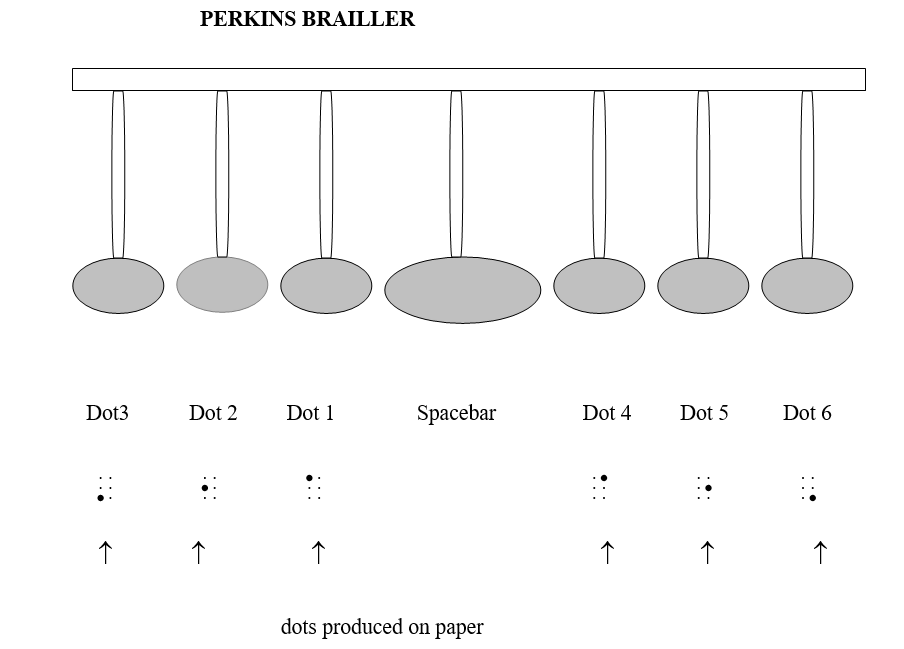

The fingering is arranged as follows: Dot 3 – use the ring finger of the left hand
Dot 2 – use the middle finger of the left hand
Dot 1 – use the index finger of the left hand
Dot 4 – use the index finger of the right hand
Dot 5 – use the middle finger of the right hand
Dot 6 – use the ring finger of the right hand
When using the Perkins Brailler, the six fingers should rest on, or just be above, the home keys ready to strike the relevant keys. The left or right thumb should be ready to strike the space bar as need arises. It is advisable to place the Perkins Brailler on top of its cover during use. This is meant to absorb the cluttering sound as the plastic cover absorbs some of the sound.
Parts of a Perkins Brailler:
The Perkins Brailler is made up of so many parts, but the following external parts are very important to know:
Embossing head: This is the component which
moves when writing braille dots on paper.
Stripper plate: This is a platform from where
the piece of Braille paper is pulled into the machine prior to brailling.
Feed roller: It is a rotating drum on which
the paper winds when being fitted into the machine.
Grooved roller and Paper support: The grooved roller helps to keep
the paper aligned in the machine.
Release lever:
This is a lever which is depressed several times to eject the Braille
paper out of the machine.
Feed knobs:
These are circular knobs which are rotated anti-clockwise in the process
of feeding in the Braille paper into the machine.
Embossing
head lever: This is a lever which is used to shift the embossing head and shifted to
any position along the strip plate.
Exploring the Perkins Brailler
Things to remember when using the Perkins Brailler
· The machine should always be covered when not under use.
· When the machine is under use, the cover should be folded and placed under the Perkins Brailler to help reduce on the noise produced.
· The embossing head should be on the extreme right position when not under use.
· When writing headings, always place the embossing head five spaces from the left margin.
The following steps as outlined by Pester, Otto and Poppe, (1995), can be followed prior to using the Perkins Brailler:
1. Place the sheet of braille paper on the paper support bar.
2. Now slide the paper between the embossing head and the stripper plate and push it towards the left until it is stopped by the edge.
3. Gently push the paper until it touches the rollers at the back
4. Hold the paper firmly in position with a finger and push the release lever back with the other hand
5. Now roll the paper feed knobs so that the paper folds around the roller until they can turn no more.
6. Slide the embossing head lever to the extreme left position.
7. Now push the line space button so that the paper is pushed out once.
8. Reach the keyboard and begin writing.
Removing the paper from the Perkins Brailler
If the paper is fully used up, turn the paper feed knobs clockwise and pull the paper out. If the paper is not fully used and you want to get it out of the Brailler prematurely, press the paper release button repeatedly until it can turn no more. Now turn the paper feed knobs clockwise and pull the paper out.
Compared to other writing devices, it has a number of advantages as indicated below.
Advantages of the Perkins Brailler
· Writing is upright – the user can read braille right from the machine without moving the paper.
· Line shift is easy – this involves depressing the appropriate button and the embossing head goes to the next line
· Portable – it has a handle and can be carried about with ease
· It is a robust machine if well cared for – it is a long-lasting machine if well-protected.
· Writing and reading is possible at the same time.
- Erasing is very easy – the user can make corrections on the braille text even when the paper is in the machine
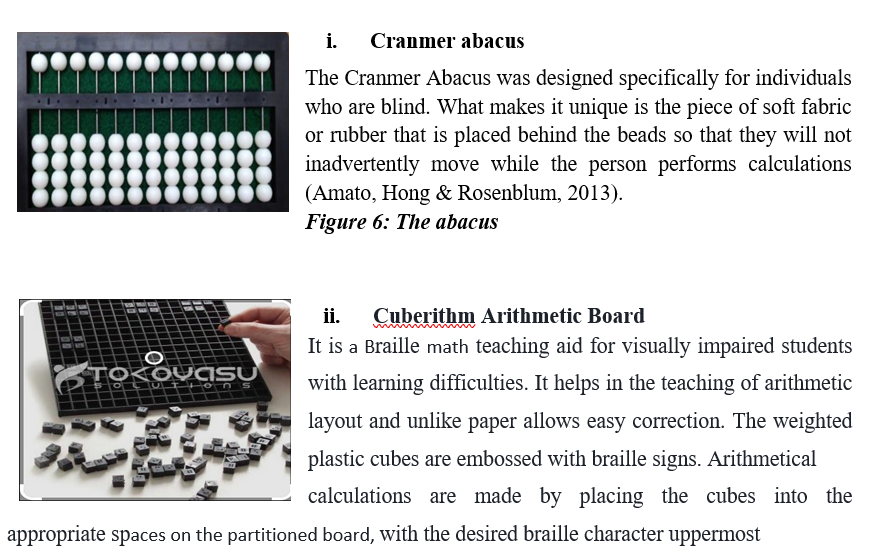
1.3.1.2. Mathematical tools
Mathematical tools are Braille code for encoding mathematical and scientific notation linearly using standard six-dot Braille cells for tactile reading by the visually impaired. The code was developed by Nemeth in 1952 and called the Nemeth Braille Code for Mathematics (National Braille Association, 1972)
The following are examples of Braille mathematical tools.
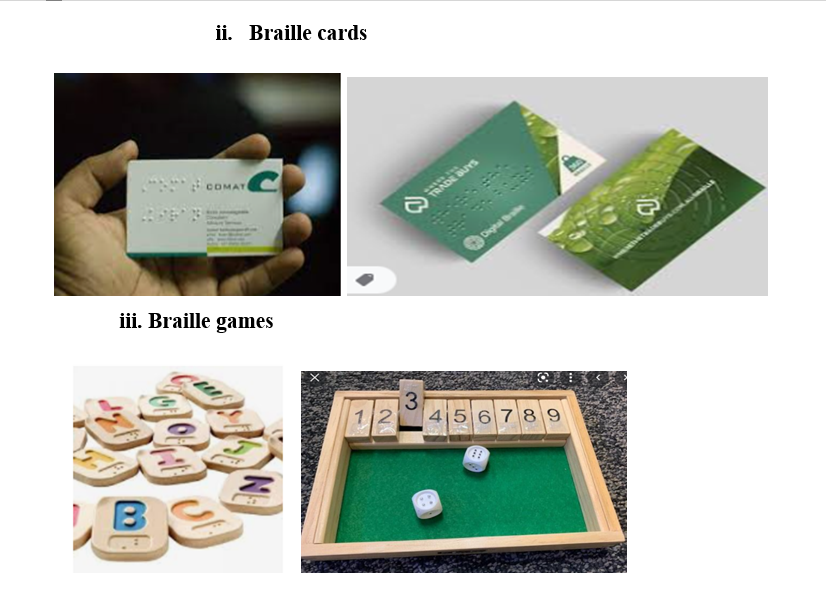
1.3.1.3. Reading resources
Reading resources are materials used by people who are blind when they are reading information written in Braille. Such resources include: Braille books, Braille cards, and Braille games
Braille books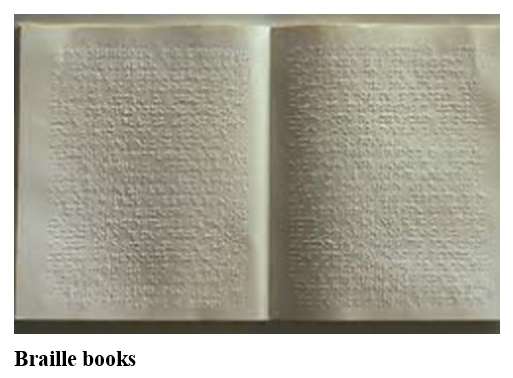
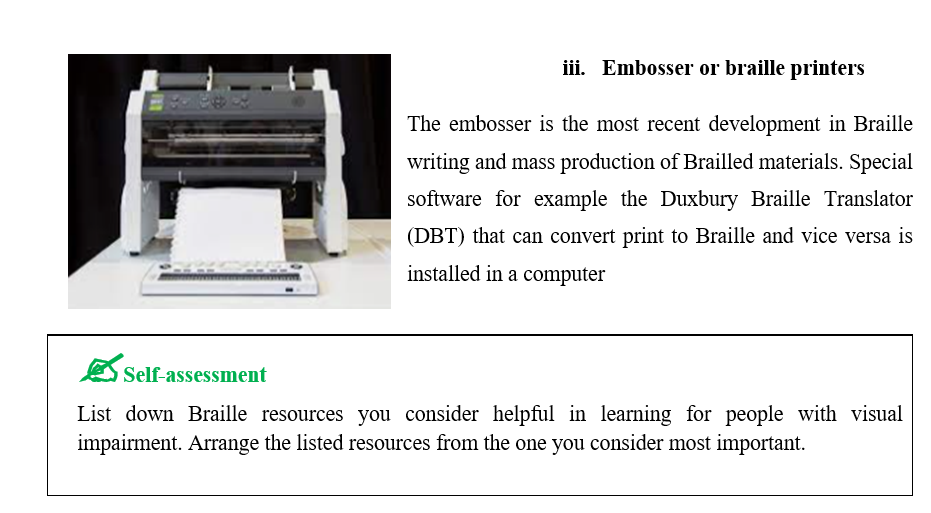
1.3.1.4 Braille technological devices
Braille Technological devices are assistive technologies which allow blind or visually impaired people to do common tasks such as writing, browsing the Internet, typing in Braille and printing in text, engaging in chat, downloading files, music, using electronic mail, burning music, and reading documents