UNIT 2 DIGITAL DRAWING AND PAINTING STILL LIFE AND NATURE
Key unit competence: To be able to make digital painting of still life and
nature studies by applying different techniques, media and tools.
Drawing tools refer to applications with built-in tools that allow users to create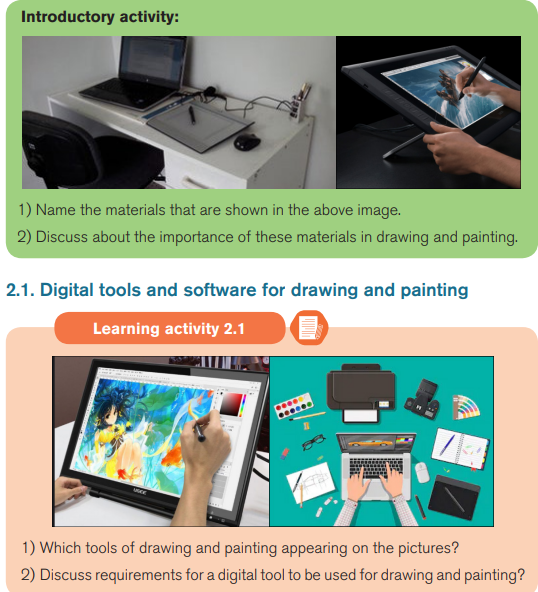
artwork from scratch. With the help simple tools such as a mouse and key board,
users can draw virtually anything depending on the available features. Users can
create, edit, and delete their drawings. They can also save their work and load
existing projects in different formats such as JPEG, GIF and PDF among others.
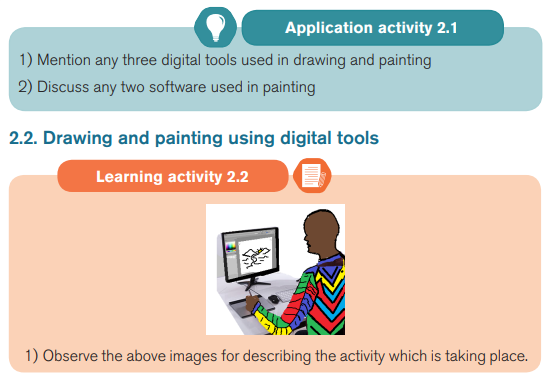
A variety of digital devices like computers, laptops, tablet, and Smart phones
...can be used for Drawing and painting with window program or downloadable
software programs or online drawing tools. The best drawing tools on the market
today can run on various platforms including windows Mac Os, Linux and Android.
Your choice will depend on the device you are using the features you are looking
for, and what you want to achieve.
Software like paint, Microsoft office publisher, adobe Photoshop, and adobe
illustrator and in design is most popular to be used for drawing and painting
Basic and Advanced Toolsets:
All drawing tools have a basic toolset with the necessary drawing tools such as a
drawing area , pencil ,markers ,paintbrushes, text tools, ink tools, rubbers etc Most
drawing tools also come with a color palette that is easy to customize depending
on the user’s needs. The most advanced features found on some modern drawing
tools includes 3D effects, 3D brushes ,animation and clone tools.
Built-in Effects:
Usually, drawing tools come with all kinds of effects to enhance your drawing
with a single click.
For example, you can choose the appropriate texture/gradient, blur your drawing,
use filters, and add shadows to your drawing. You can also change parameters
such as brightness and contrast levels.
Integration tools
Drawing tools my integrate with the tools you use every day such as design tools,
Photo editing application, MS word, and M S Power PowerPoint. Some application
allow users to integrate external devices such as electronic sketchpads thattranslate images onto the screen to make their work
DRAWING AND PAINTING SOFTWARE
i) Adobe Photoshop
When it comes to creative software, Adobe has dominated the scene for
decades, and Photoshop CC (CC stands for Creative Cloud) is loved by
artists and designers across the world. It provides creative types with a
plethora of cloud-based tools to create and enhance photos, illustrations
and 3D visuals.
This software isn’t just about editing photos. If you’re a professional designer,
you can use it to create packaging, banners, websites, logos and icons. Not
only can you come up with your own creations, but you’re also able to make
use of intuitive templates if you’re more of a beginner, or you’re working to
a tight deadline.
You can design your own illustrations and turn images into paintings as well,
with the option of switching between animate and print-style options. When
you’ve created a piece, you can enhance it with a range of built-in effects
ii) Adobe Illustrator
It can sometimes be thought of as being the little brother to the more
powerful Photoshop, but don’t overlook its possibilities. While Photoshop
was originally built for photo editing, Adobe Illustrator has always been
designed around illustration and drawing. You don’t need to choose between
one or the other, however, as if you subscribe to even the basic level Adobe
creative apps plan, you can have both Photoshop and Illustrator together.
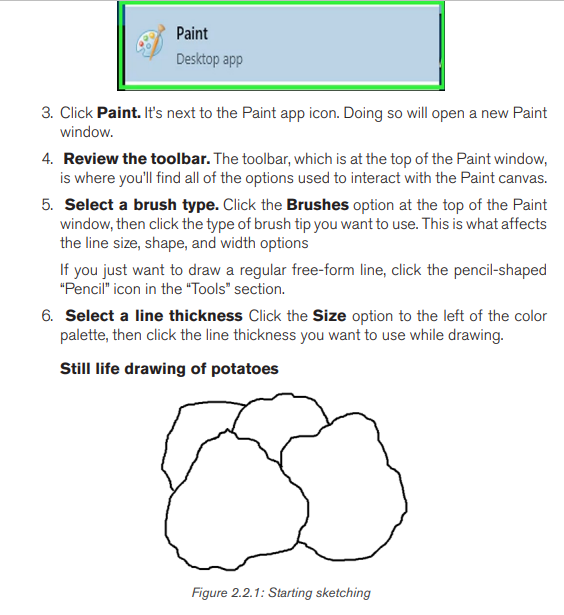
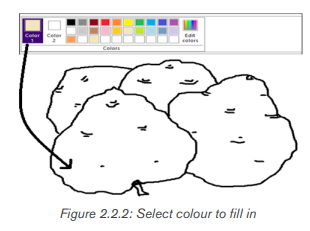
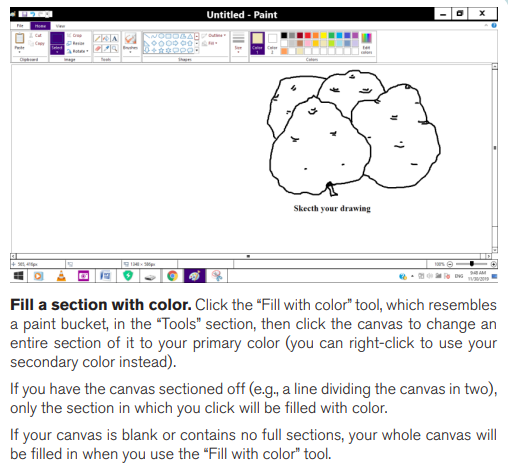
iii) Microsoft Paint
This is a basic art package that comes with every Windows install, and has
done so since at least Windows 3.x. The release of Windows 10 has seen
3D editing tools added to it, but let’s be fair-it’s still a simple program that
isn’t going to rival anything else on this list. However, because of the easy
availability of MS Paint it’s worth mentioning - if nothing else because it
does have a basic toolkit that is expanded on by other software.
AS an artist, designer or illustrator, it is important to use drawing tools with
features that will help you achieve the desired results. whether you want
to draw sketches, illustrations, flowcharts, Network diagram, or shapes, the
ability to achieve good results will not only depend on your artistic skills, butalso the kind of drawing tool you choose
b) Adobe illustrator or photoshop
Welcome to the Get Started with Illustrator series of tutorials that teaches you
the basic tools and techniques of Adobe Illustrator. This first tutorial introduces
you to the Illustrator workspace and shows you how to open and save your
images.
Illustrator workspace
Menu bar (at the very top) shows the File, Edit, and other menus that give you
access to a variety of commands, adjustments, settings, and panels.
Tools panel (on the left) contains tools for creating and editing artwork. Similar
tools are grouped together. You can access them by clicking and holding a tool
in the Tools panel.
Panels (on the right) include Properties, Layers, and other panels that contain
a variety of controls for working with artwork. You can find a full list of panels
under the Window menu.
Document window (in the middle) displays the file you’re currently working on.
Multiple open documents appear as tabs in the Document window.
Zoom and Pan
The Zoom tool, located in the Tools panel, can be used to show you more detail
of a document. To change from Zoom In to Zoom Out, press Alt (Windows) or
Option (macOS).
The Hand tool, found by clicking and holding the Zoom tool in the Tools panel,
allows you to pan across a document.
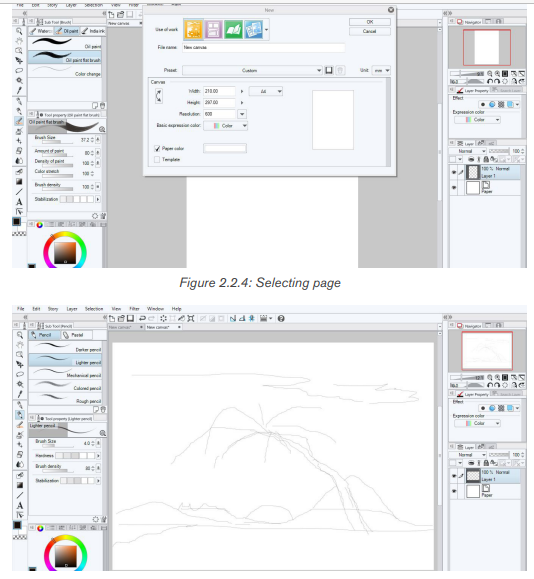
Create a new document
The Start screen appears when there are no documents currently open in
Illustrator. It lists your recent files, Learn content, and presets. You can also
access various resources and search Adobe Stock from here.
Choose File > New. In the New Document dialog box, start by choosing a
preset. For example, the Print preset shows various sizes and document options
you can set for a new document. The New Document dialog box is where you
can access free and paid Adobe Stock templates, which are a great starting
point for your designs.
The basics of creating new artwork with the Pen tool
The Pen tool, found in the Toolbar, is one of the most powerful drawing tools inIllustrator. With it, you can create and edit anchor points and paths
Set stroke and fill before drawing
To start with the Pen tool, select the Pen tool in the Toolbar and, in the Properties
panel, set the stroke weight to 1 pt, the color to black, and the fill to none.
Create straight lines
To create straight lines with the Pen tool, click and release to create an anchor
point. Move the pointer, and you’ll see a preview of the path you are creating.
Click and release to create another anchor point. You can continue clicking
and releasing in different areas to create more anchor points for the path.
To close a path, move the pointer over the original anchor point and, when a
circle shows next to the pointer, press the Shift key and click the end point. To
stop drawing a path without closing it, press the Escape key.
Create curves
To draw a curve when creating an anchor point, drag to create direction
handles, and then release. The more you drag when creating or editing anchor
point handles, the more curve the path has.
Create corner points (change path direction)
To change the direction of a path while drawing, drag to create a smooth
point (a curve). Release the mouse button. Move the pointer over the end of a
direction handle, press the Option key (macOS) or Alt key (Windows), and drag
the end of the handle to split them.
Remove direction handles
To remove a direction handle as you draw with the Pen tool, so that you can
go from a curve to a straight line, click back on the last anchor point created toremove the handle. Then continue drawing
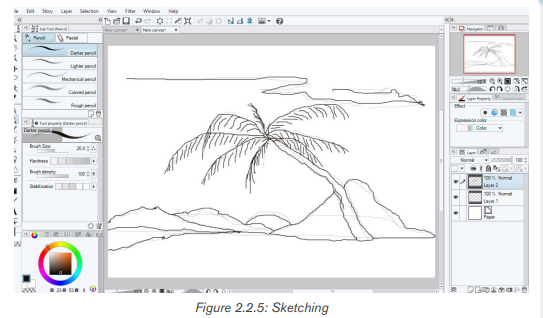
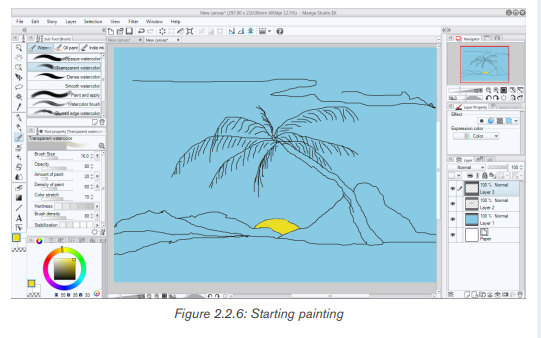
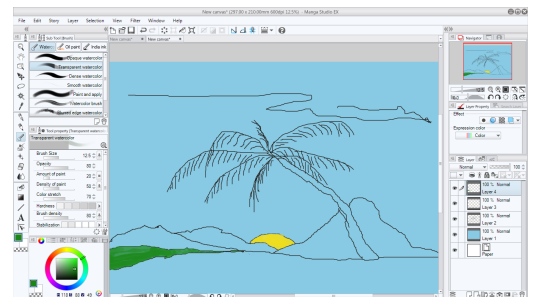
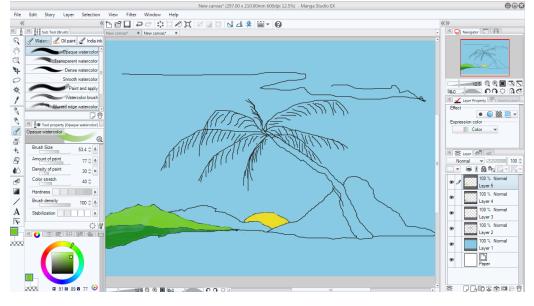
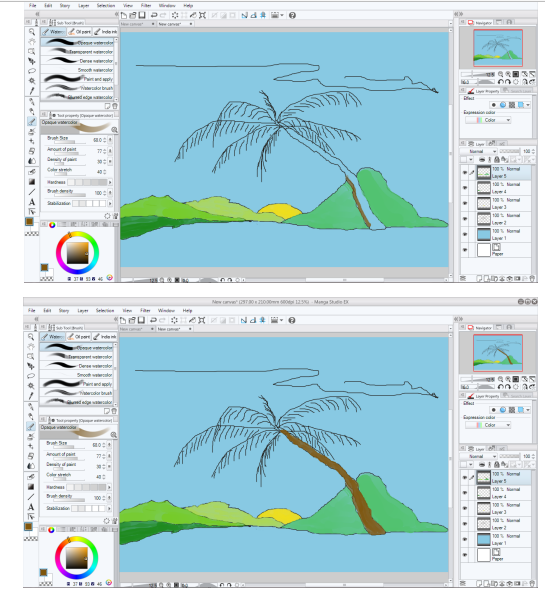
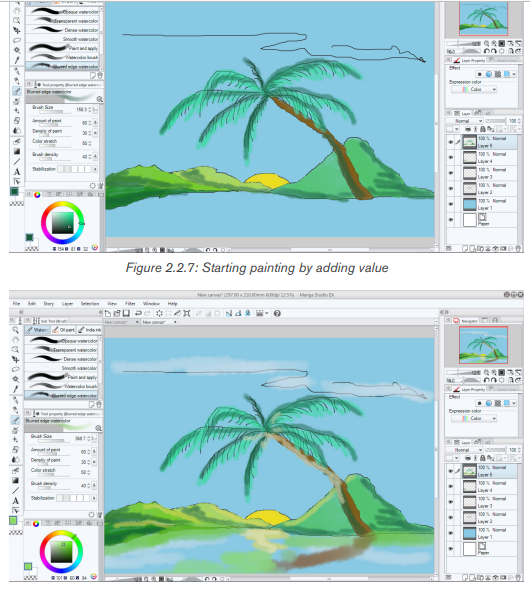
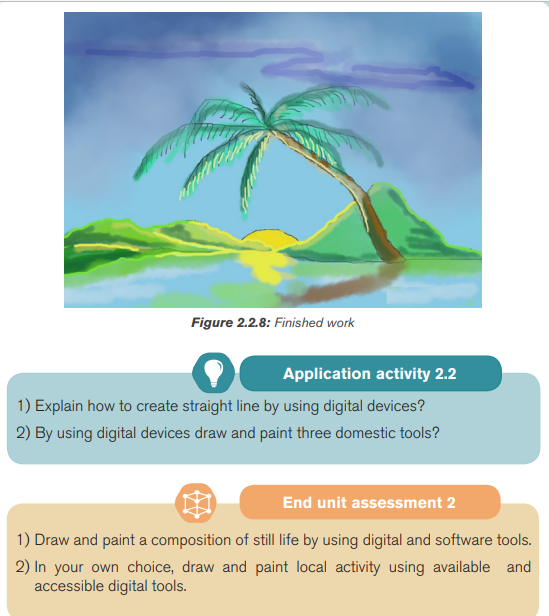
Process of drawing using adobe illustrator
Nature drawing done with illustrator software